When you install Exchange Server 2007 into an existing Exchange Organization it will import many of the relevant settings for the Hub Transport server. To begin sending and receiving email with Exchange Server 2007 we must configure Connectors.
Configure the Receive Connector
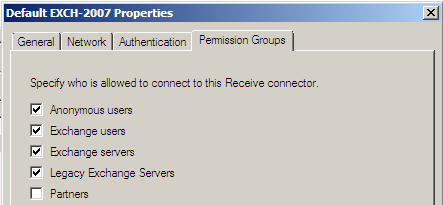
To allow the Exchange server to accept incoming email from the internet the default Receive Connector must be modified. Navigate to Server Configuration/Hub Transport. Open the properties of the default Receive Connector.

Select the Permission Groups tab and enable the Anonymous Users group. Click OK when complete.
Configure the Send Connector
Navigate to Organization Configuration/Hub Transport. In the Actions pane to the right of the Exchange Management Console click New Send Connector.

Enter a meaningful name such as Internet Email and set the intended use to Internet.

Click Next to continue.
Click the Add button and add an SMTP address space of * to route all mail to external domains over this Send Connector.
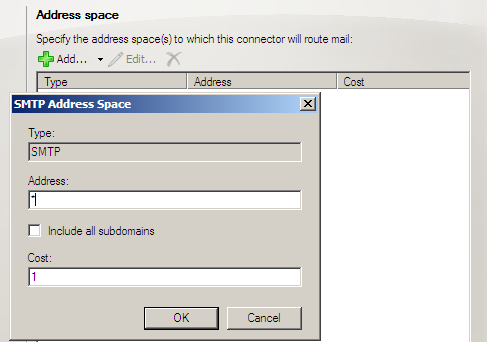
Click OK and then Next to continue.
If you route your outgoing mail via an ISP smart host or email security service choose that option and enter the IP address or DNS name of the smart host. You can add more than one smart host if necessary. Otherwise leave it configured to use DNS to route mail directly to the destination.
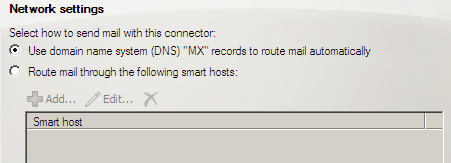
Click Next to continue. The Hub Transport server is automatically included as a source server for the Send Connector. Click Next to continue, then New to create the Send Connector with the chosen settings. When the Send Connector has been created successfully click Finish.
Allow the Exchange Server 2007 server to send email to the internet
Add a rule on your network’s firewall to permit the Exchange Server 2007 server to send traffic to the internet on TCP port 25. On an ISA Server 2006 firewall the process is as follows.
Open the ISA Server Management console and navigate to <ISA server name>/Firewall Policy.
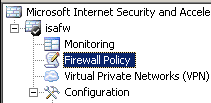
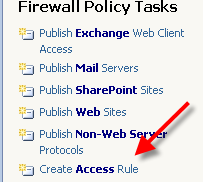
Click on Create Access Rule in the Tasks pane on the right side of the ISA Server Management Console.
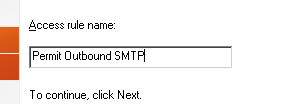
Give the new Access Rule a meaningful name such as “Permit Outbound SMTP”. Click Next to continue.
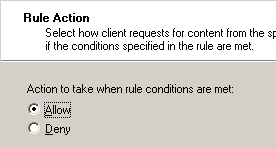
Set the Rule Action to Allow. Click Next to continue.
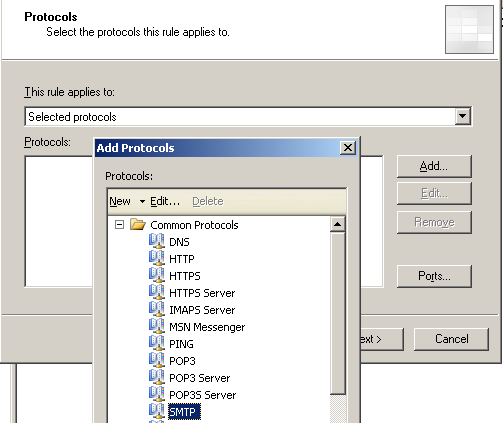
Leave the Protocols set to “Selected protocols”. Click the Add button and choose SMTP from the Common Protocols list. Click Add again to add SMTP to the list of permitted protocols for this Access Rule.
Click Close to close the Add Protocols selection dialog, then click Next to continue.
For the Access Rule Sources click the Add button and then click New -> Computer.
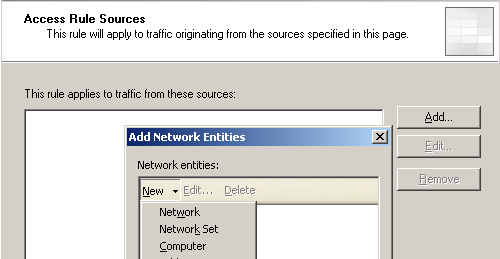
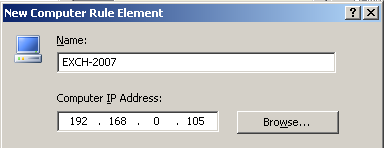
Enter the name and IP address of the Exchange Server 2007 server then click OK.
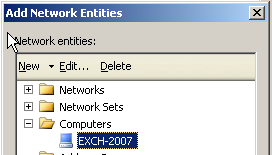
In the Add Network Entities dialog navigate to Computers and select the computer object you just created. Click Add to add it to the new Access Rule, then click Close.
Now that the Exchange server is showing in the list of Access Rule Sources click Next to continue.

In the Access Rule Destinations dialog click Add, navigate to Networks select External then click Add and Close. Click Next to continue.

Leave the User Sets configured to All Users. Click Next to continue, then click Finish to close the New Access Rule Wizard.
Apply the ISA rule changes.


Pingback: Exchange Server 2013 Mail Flow and Transport Services
in exchange 2003, there is checkbox “Allow all computers which successfully authenticate to relay, regardless of the list above”
I can authenticate relay with exchange 2007 for all user account
but not with “administrator” account.
1. Can you authenticate relay with domain admin account ?
2. if not, Is it because inherited deny permission on domain admin group ?
in exchange 2007..
inherit deny on domain admin group is prevent admin from access other user mailbox
Does it apply to smtp receive connector in hub transport role also ?
that why domain admin cannot authenticate relay ….
Very well put together, thank you helped alot
Pingback: Route outbound email through the Exchange Server 2007 Hub Transport server | Exchange Server Pro
Pingback: How to Publish Incoming Email to Exchange 2007 Using ISA Server 2006 | Exchange Server Pro