Office 365 Message Encryption allows your users to easily send encrypted messages to recipients without the additional configuration of traditional encryption technologies such as S/MIIME or an encrypted transport connector. This opens secure transport on an ad-hoc basis, without pre-configuration or intervention from IT departments, which has got to be a good thing.
By default, the Office 365 email and portal templates are branded, which could potentially look like a phishing email, especially as Office 365 or Gmail users will be prompted to sign in to view the email. So, many organisations are likely to want to implement a custom branding option for Office 365 message encryption to eliminate the assumption it’s a potential threat or to avoid future confusion. In this article, I will explain the available customisation options and demonstrate how to implement them.
If you would like to find out more about phishing emails, check out Tony Akers blog below.
The first thing to note is that Office 365 Message Encryption is included with Office 365 Enterprise E3 and E5, and therefore also as part of Microsoft 365 E3 and E5. Users with Exchange Online Plan 1, Exchange Online Plan 2, Office 365 F1, Office 365 Business Essentials, Office 365 Business Premium, or Office 365 Enterprise E1 subscriptions can also benefit from Office Message Encryption with the addition of an Azure Information Protection P1 subscription.
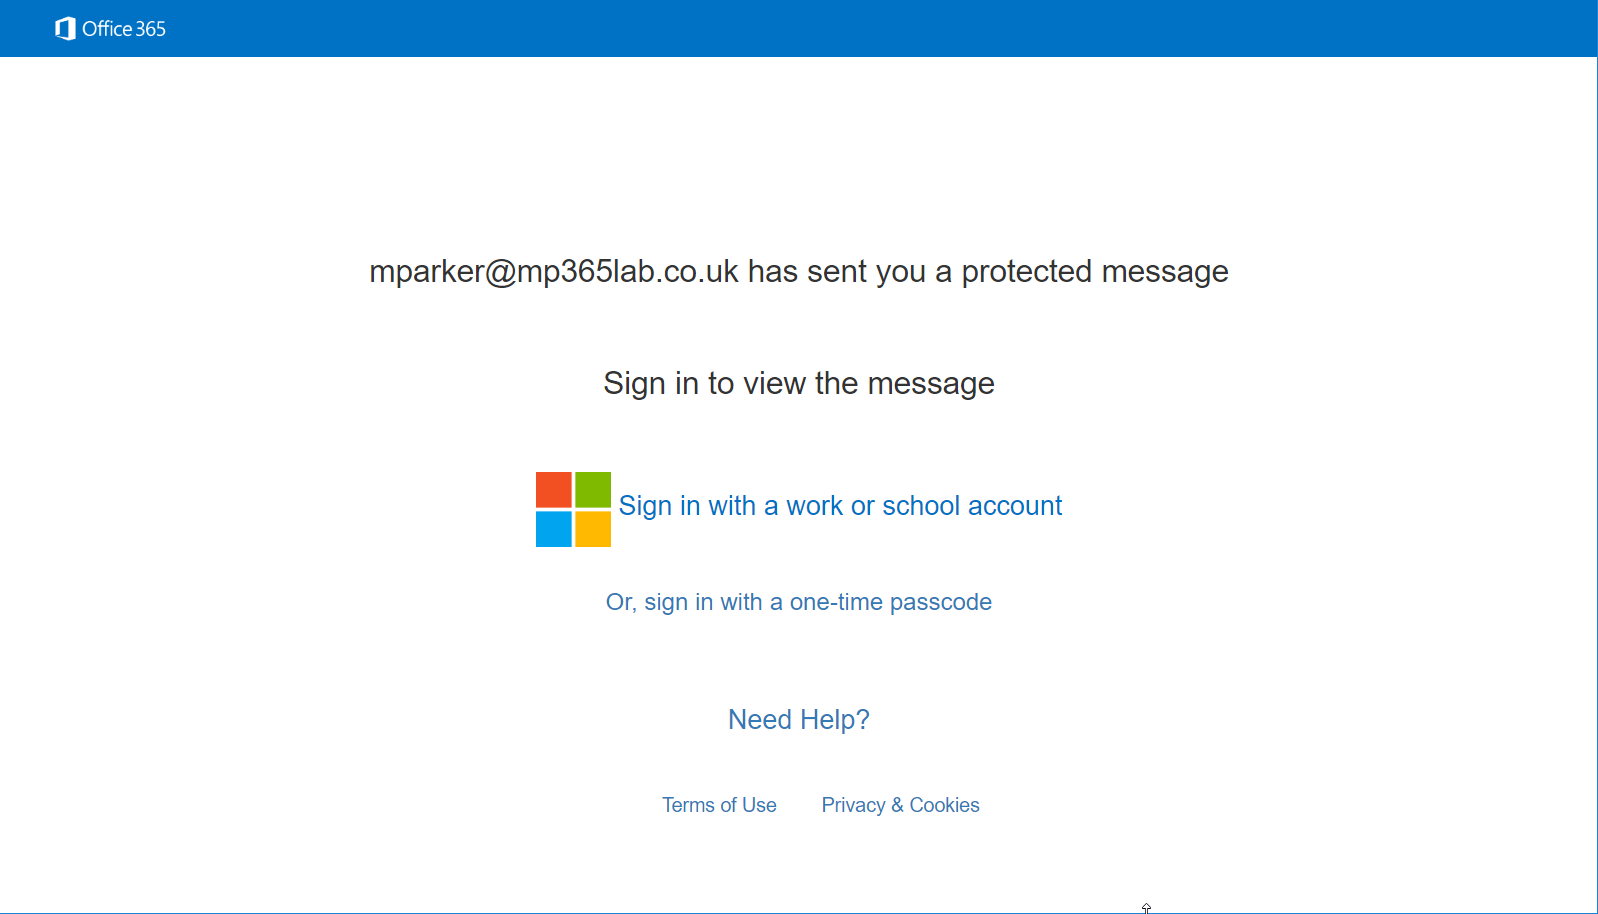
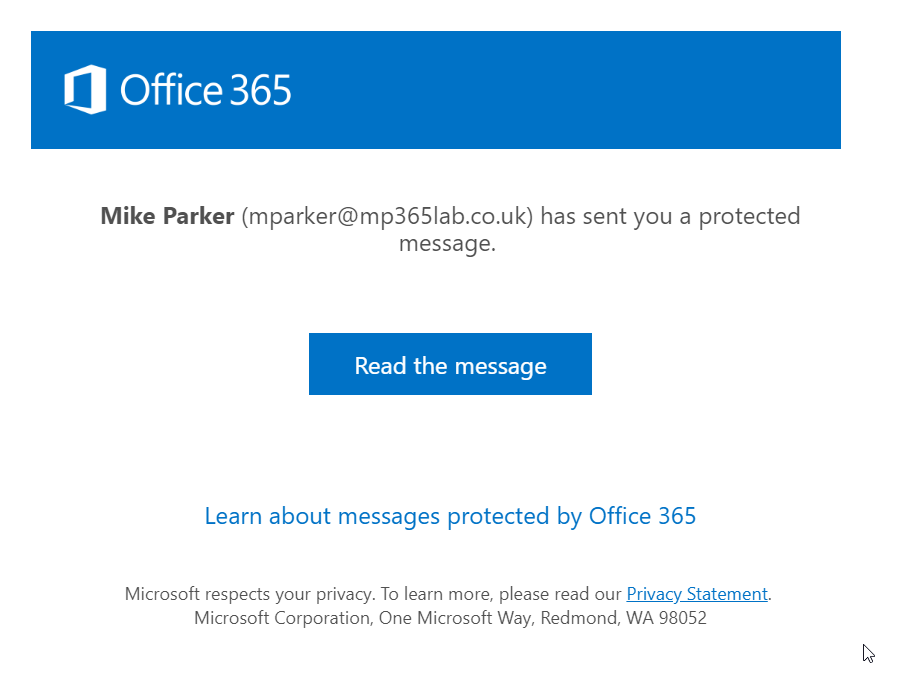
You can see the default Office 365 branded email and portal in the screenshots below.

Figure 1 Default OME Portal Branding

How you can use branding for Office 365 Message Encryption
The branding options can only be set using Exchange Online PowerShell. For more information on connecting to Exchange Online PowerShell see the article below.
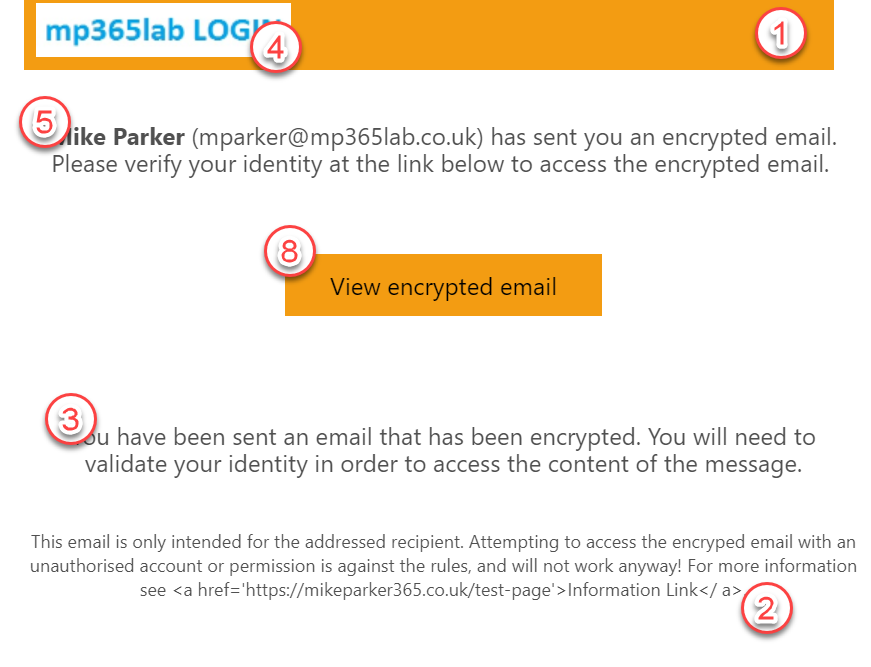
You can see the various elements of both the portal and the email notification that can be

Although you can have several OME Configurations within an Office 365 tenant, you should update the default configuration to affect the branding recipients.
The following command is what I used to configure my custom branding, updating all the customisable attributes within the OME Configuration.
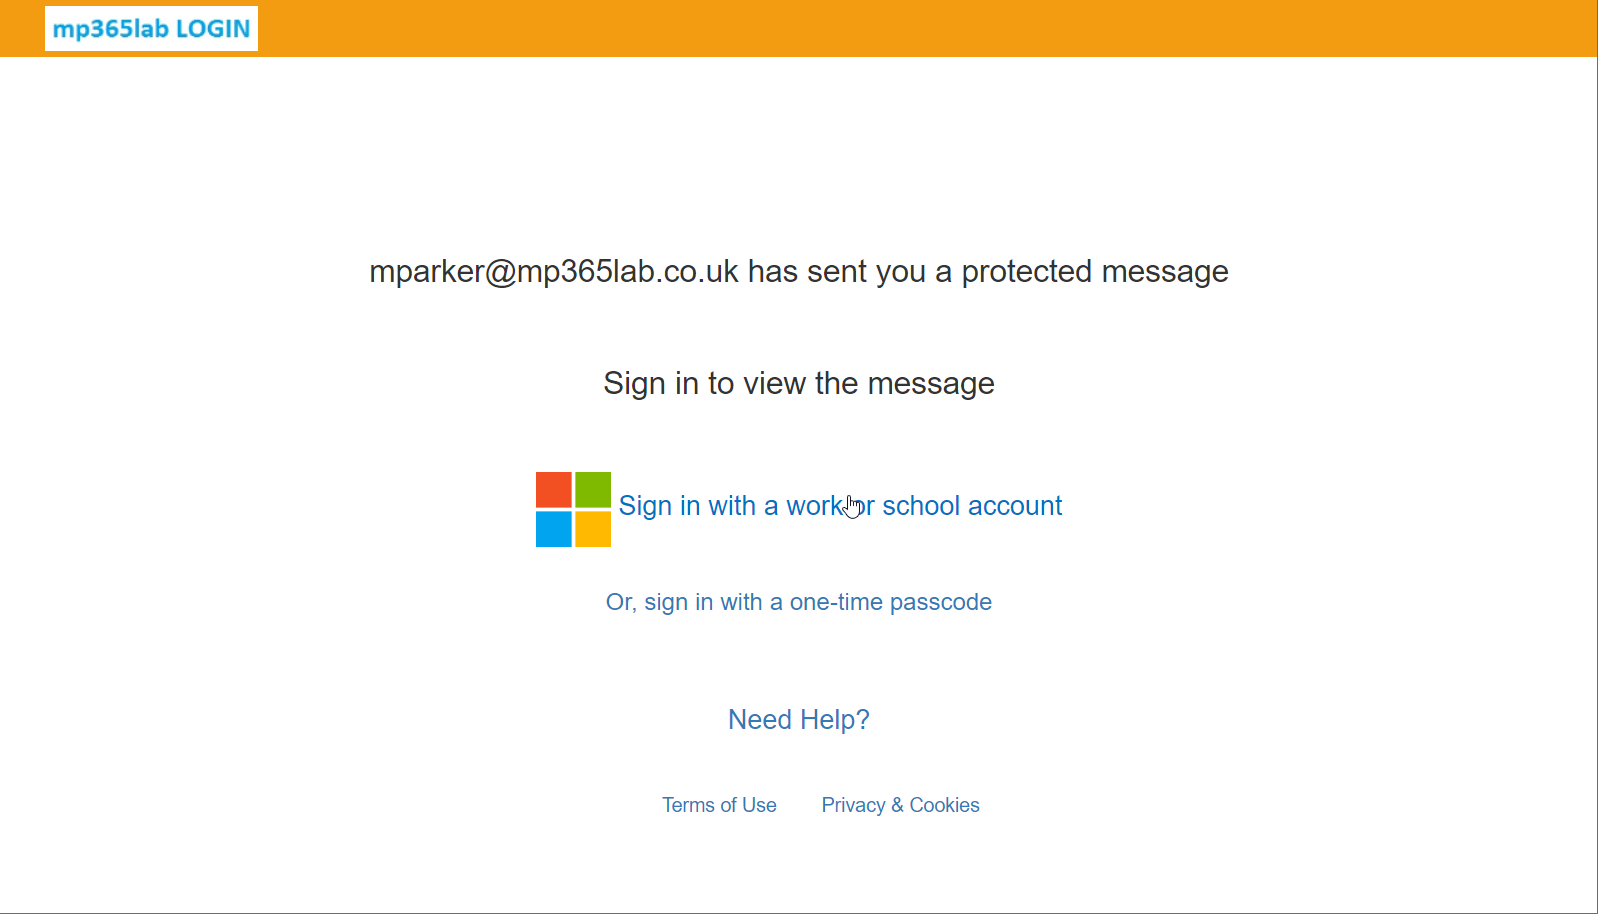
Set-OMEConfiguration -Identity "OME Configuration" -BackgroundColor "#F39C12" -DisclaimerText "This email is only intended for the addressed recipient. Attempting to access the encryped email with an unauthorised account or permission is against the rules, and will not work anyway! For more information see Information Link." -Image (Get-Content "C:\Mike\Logo.jpg" -Encoding byte) -EmailText "You have been sent an email that has been encrypted. You will need to validate your identity in order to access the content of the message." -IntroductionText "has sent you an encrypted email. Please verify your identity at the link below to access the encrypted email." -OTPEnabled:$True -PortalText "MP365LAB Office 365 Message Encryption Portal" -ReadButtonText "View encrypted email" -SocialIDSignIn:$TrueThe images below shows the result of the custom branding settings on the email and in the portal.


You can recreate the default configuration by creating a new OME Configuration using the New-OMEConfiguration command within Exchange Online PowerShell or reverting all settings of the “OME Configuration” to the default values.
As you can see the portal can be completely changed to align with your corporate branding, including the tone or standard disclaimers your users or partners will normally see when accessing the organisation’s other assets. Hopefully this will help you when looking to align your encrypted emails from Office 365 to your own corporate branding.


I don’t believe this template applies to the message when you apply encryption by New Message > Options > Encrypt. The button color is correct however it won’t have the brand/logo or the colored bar. Could be a recent change.
That’s an old (2019) article. Lots has changed with OME since then.
Hi Mike,
Great post.
I would just like to ask a few things things.
When creating a custom branding template, this new template will be the default template used for all encrypted messages sent out? unless this new branding template is associated to a mail flow rule or a DLP policy using certain conditions? I just want to be clear on that so customers are not shocked when their custom branding template is being used by default unless they configure the use of a mail flow rule or DLP policy to enforce that template, leaving the default template being used for encrypted emails that do not match the conditions.
A custom branding template is also a prerequisite for users being able to “remove external access” to encrypted email via the sent items in OWA?
End users can revoke emails themselves that they’ve sent to non Microsoft services such as Gmail, Yahoo etc. Whereas Emails sent to Microsoft service such as Exchange Online and the recipient is using Outlook cannot be revoked by the sender, only the admin can do so via PowerShell (if the email was sent as a link based email enforced by a DLP policy for example).
Cheers Mike,
Freddie
How to set EmailText to let user click in the text and send to a specific link?
Like, for example, configure EmailText as : Need help ? Click here. Where “click here” open a specific link?
Use the Set-OMEConfiguration cmdlet.
Can this only be set for the parent tenant? I would need to create separate ones for the domains under my tenant.