Before we begin we must first use the same procedure used for migrating the SSL certificate from Exchange Server 2003 to Exchange Server 2007 to also migrate the certificate to the ISA Server 2006 firewall. Once an SSL certificate has been configured on the ISA server we can continue with the publishing rules for Outlook Web Access.
Open the ISA Server Management console and navigate to <ISA server name>/Firewall Policy.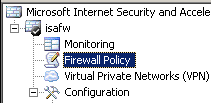
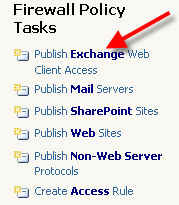
Click on Publish Exchange Web Client Access in the Tasks pane on the right side of the ISA Server Management Console.
Enter a meaningful name for the new publishing rule such as “Exchange Remote Access”. Click Next to continue.

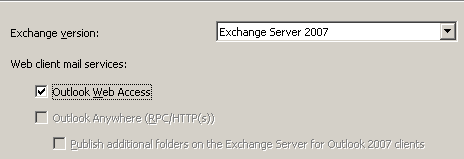
Select the Exchange version Exchange Server 2007 and tick the Outlook Web Access box. Click Next to continue.
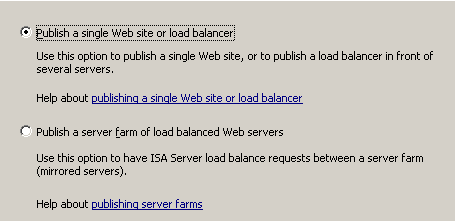
Choose Publish a single Web site or load balancer. Click Next to continue.
Choose Use SSL to connect to the published Web server or server farm as this is the most secure option. Click Next to continue.

Enter the FQDN of the Client Access Server. If for any reason your ISA Server is not able to resolve this name you should also tick the box and enter a name or IP that ISA can use to connect to the server. Click Next to continue.
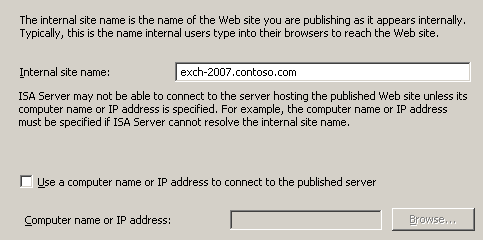
Enter the Public Name of the server. This should match the name on the SSL certificate you imported on the Exchange and ISA servers, the External URL setting on the OWA virtual directory for the Exchange Client Access Server configuration, and the external DNS name that your clients use to connect to Exchange remote access. Click Next to continue.

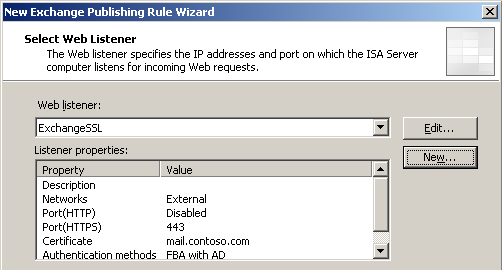
Click New to create a new web listener for Exchange Remote Access.

Give the listener a meaningful name such as “ExchangeSSL”. Click Next to continue.

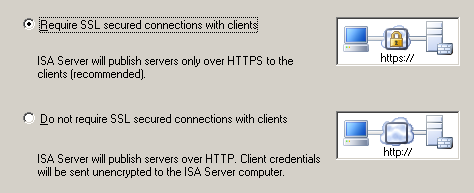
Choose Require SSL secured connections with clients. Click Next to continue.
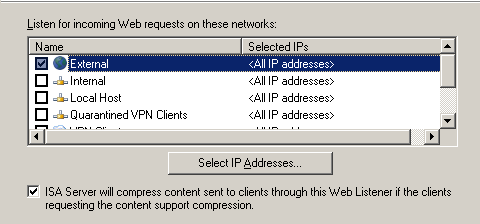
Select the External network to listen for incoming web requests. If you have more than one external IP address you must click Select IP Addresses and specify which IP address bound to the External network to listen on. Click Next to continue.
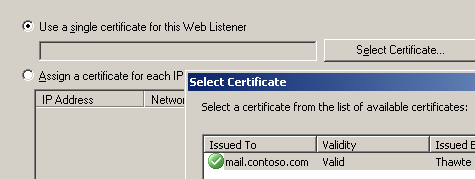
Click Select Certificate and choose the SSL certificate you imported on the ISA Server firewall. Click Select and then click Next to continue.
Leave the authentication settings set to HTML Form Authentication with Windows (Active Directory). Click Next to continue.

Clear the Enable SSO check box. Click Next to continue.

Click Finish to complete the New Web Listener wizard. Select the web listener you have just created and click Next to continue.
Choose Basic Authentication for authentication delegation. Click Next to continue.
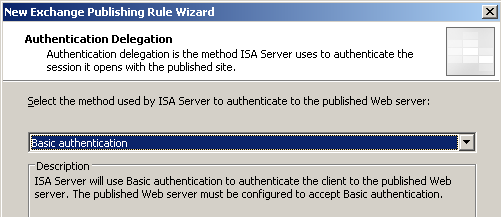
Note: Delegation using Basic authentication allows a single SSL certificate, public IP address, and ISA publishing rule to be used for all Exchange remote access methods (eg Outlook Web Access and Outlook Anywhere). In environments with multiple public IP addresses and a requirement to delegate Outlook Anywhere authentication using Kerberos/NTLM then Negotiate(Kerberos/NTLM) would be chosen.
Leave the users set to Authenticated Users. Click Next to continue.
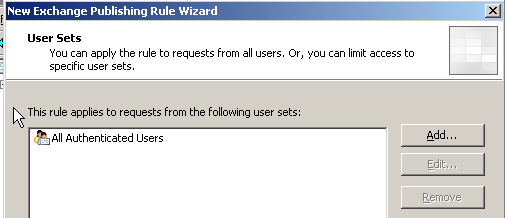
Click Finish to complete the Publishing Rule wizard.
Right click the newly created rule and choose Properties.

Navigate to the Paths tab. Click the Add button to add more paths to the publishing rule for ActiveSync, AutoDiscover, and Outlook Anywhere.
Note: If you are planning to publish these services on separate IP addresses and SSL certificates you would not perform these steps.
Add the following paths:
- /rpc/*
- /Microsoft-Server-ActiveSync/*
- /AutoDiscover/*
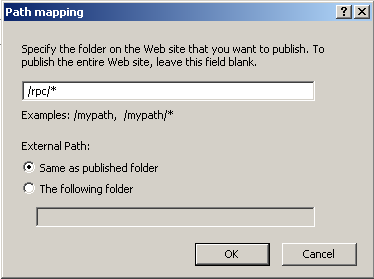
Click OK when you have added each of the paths to the rule.

Apply the ISA rule changes.


Pingback: Moving Mailboxes from Exchange 2003 to Exchange Server 2007 | Exchange Server Pro