
SharePoint has been around in various ways for a long time, and it’s developed and changed a lot along the way. In this three-part blog series, I am going to take you through the process of building a modern SharePoint Online Intranet.
For those of you who have been using SharePoint Online for years, you’ll know that the older classic Team Sites can look and feel quite basic out of the box. For example, there were fewer built-in web parts available such as a News web part. Whilst it was possible to add a News web part as a third-party app from the SharePoint Online store, this created more reliance on outside vendors which was an uncomfortable risk for many customers.
Moreover, it could be challenging to make classic Team Sites look visually appealing with the native capabilities available. Two methods that I have used to overcome this challenge were the use of Promoted Links, or SPJS Tiles, which both involve extra time and effort, and the latter produced additional reliance on an unsupported technology from an independent party.
An example of how a classic SharePoint Online site appeared when initially provisioned is shown below.
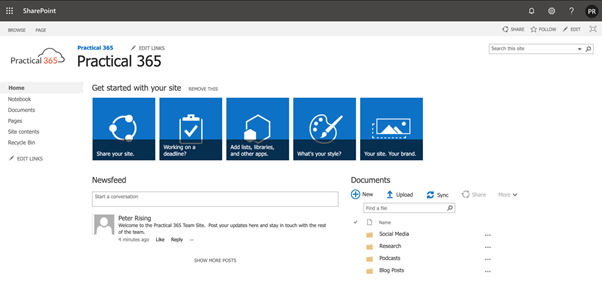
So, although it was possible to customize these classic pages and add branding, it was generally more difficult to make these sites look sleek and professional using only out of the box tools.
The common solution to this problem was to leverage an “Intranet in a box” solution which could be used instead of or placed in front of SharePoint Online. Examples of such products are Unily and Valo which are both recommended products that can make your Intranet extra special. However, in my experience, many of my customers didn’t want to absorb the extra cost or rely on more technology.
Since the advent of the Modern SharePoint Online experience, it’s become far easier to plan and develop your Intranet experience using only the native capabilities. Microsoft have even provided the SharePoint Lookbook which is an amazing resource with a variety of styles to choose from. These include:
- Organization
- Department
- Team
- Community
- Solutions
The SharePoint Look Book is shown in the image below:
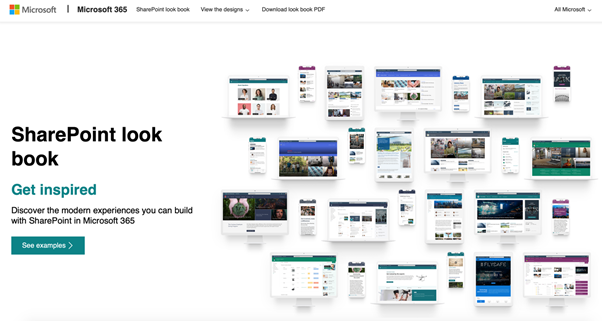
The Look Book has helped guide Microsoft 365 customers to create “stunning intranets” and has been widely praised with one testimonial reading “what three years ago took months of coding is now available out of the box with SharePoint”.
Whilst the modern SharePoint Online experience is a vast improvement on the classic style pages, it by no means solves every problem that existed in the older experience. For example, at the time of writing this blog post, it is only now becoming possible to target information on SharePoint pages to specific groups of people with the Audience Targeting feature.
The Microsoft 365 platform is evergreen though, and constantly changing. As a result, we can expect the features and usability of SharePoint Online to continue to evolve and improve.
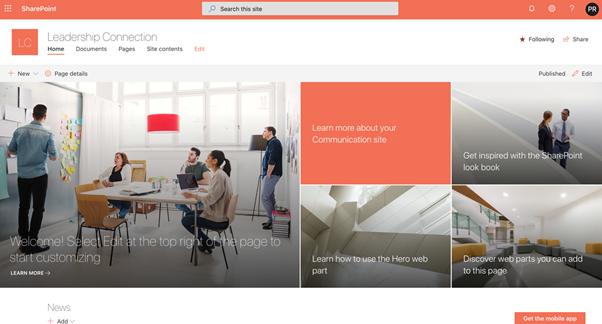
The Look Book also provides you with the ability to select one of the many design templates and add it to your own tenant as shown in the image below.
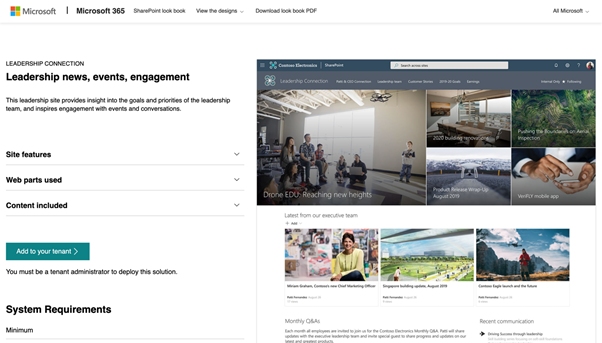
This method does the hard work for you, and once you’ve added your chosen template to your tenant, you can have an instant intranet page, which you can tweak and customize to look like the one below.
Fortunately, it isn’t difficult to create and a build a sleek looking intranet page, and in the following steps, I’ll walk you through how to.
First, I’ll go through the process of creating a SharePoint Online site which will become your Intranet landing page. This process includes choosing which type of site you will need to create, and you have the option to choose between Team Sites, Communication Sites, and some further custom options.
Next, I will show you how you can change the look of your new site by adding your logo, changing the page title, and applying a custom theme which will include your organizations branding and colour schemes.
Finally, I’ll demonstrate how you can populate and edit your new landing page with relevant content, such as a News Feed, Quick Links, and Hero content. This is achieved by adding sections and web parts to the landing page.
Creating your SharePoint Online Intranet site
To create your new site, you’ll need to access the SharePoint admin center which can be accessed from the Microsoft 365 Admin Center at https://admin.microsoft.com. You’ll either need to be a Global Administrator or SharePoint Administrator.
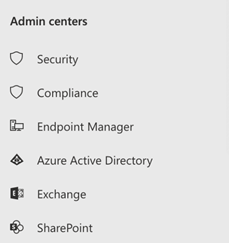
- Once you’ve logged in, you’ll need to navigate to Admin centers > SharePoint (you may also need to click on “Show all” before you see the SharePoint admin center in the menu).
2. This will take you into the SharePoint admin center which is shown below.
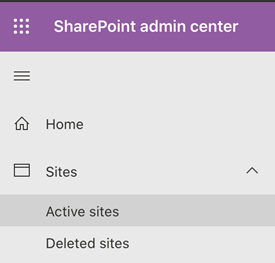
3. Click on Active sites and you’ll see the list of sites which are already present within your Microsoft 365 tenant.
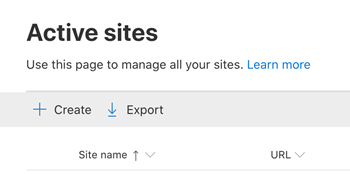
4. In order to create your new site, click Create. This will give you some choices about the sites you can create as shown below:
Let’s look at the choices you have here by examining the available site types and when to use them.
SharePoint Online Intranet Site Types
The following site types are available within SharePoint Online.
| Team site | A Team site would typically be used to share documents within a team. When creating a Team site, a Microsoft 365 group is automatically created. So, this option isn’t best suited for creating an Intranet landing page. |
| Communication site | A Communication site is designed for publishing content to your organization to keep them informed. Therefore, Communication sites are informative in comparison to collaborative, they don’t have a Microsoft 365 group associated with them when they’re created. This is the option we will be using to set up our Intranet Landing Page. |
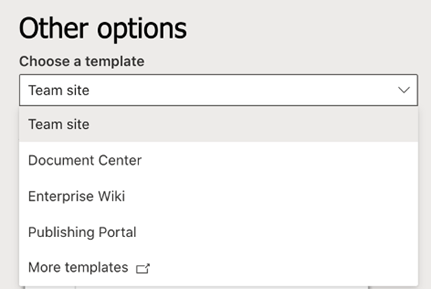
| Other options | Under Other options, you may choose from additional templates such as Document Center, Enterprise Wiki, and Publishing Portal. More templates are available to choose from as shown in the image below. These alternative options will be covered in a future post. |
The choices available from the Other options selection appear as shown in the following image.
5. So, as we are creating an Intranet landing page, and the primary purpose of such a page is to communicate information to our users, we need to create a Communication site. Select the Communication site option from the Create a site page, and we’ll see the following options for choosing the design for our site.
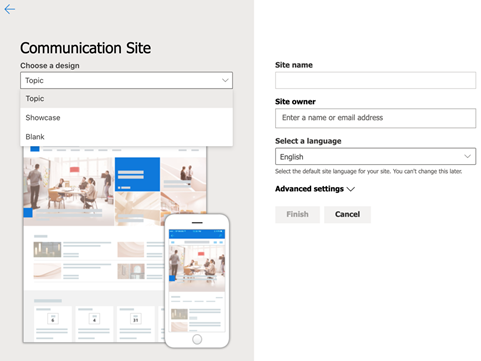
I always opt for a Blank site to start with, as this gives me the option to build the home page exactly the way I want it. We need to complete the following information in order to provision our Communication site:
- Site name
- Site address
- Site owner
- Preferred language
I have set mine as shown in the following image.
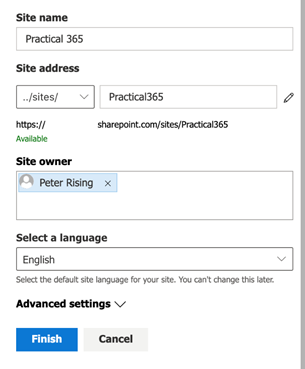
6. Under Advanced settings, you may also set some additional options for the site, including Sensitivity, Time zone, and the Site description. When you’re happy with your settings, click Finish.
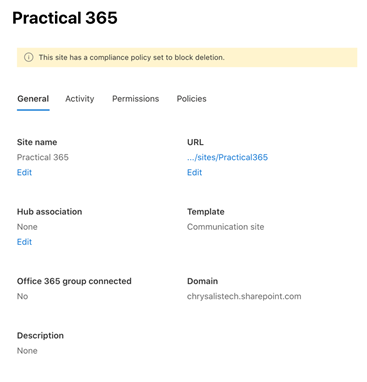
7. Your site will be created and will appear in the list of Active Sites in the SharePoint admin center. You can select your new site by clicking on it, and then choosing the URL from the General tab as shown below.
8. You should now see a blank Communications site which looks something like this.
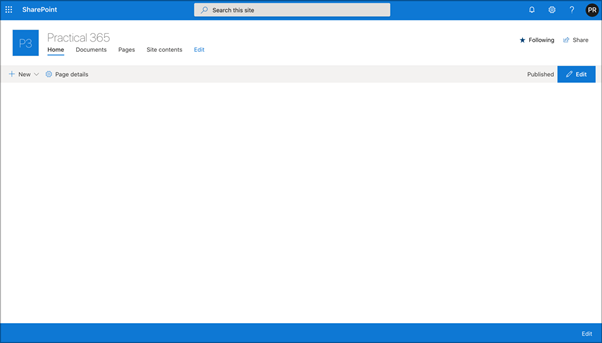
Now we have our blank canvas to play with. Next, we want to make some changes to this page to make it look like a suitable Intranet landing page for our brand. Here’s how we do it.
Changing the look of your site
Now let’s adjust the look of the site by performing the following changes:
- Create a custom theme generator
- Applying the custom colour theme to your site
These steps are my personal recommendations for improving the look and feel of your landing page. You may of course find your own preferences. For example, I prefer to remove the footer from all of my SharePoint Online pages, but some of you may prefer to leave it in place.
Removing the footer
To customize our landing page, let’s start by removing the footer.
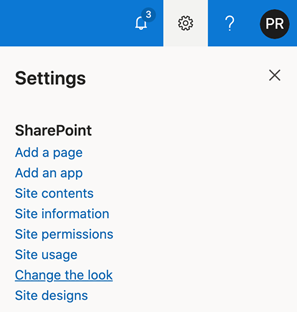
- To do this, we need to click on the cog wheel at the top right corner of the page and select the Change the look option.
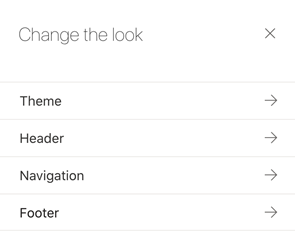
2. Select Footer
3. Switch the slider to Off. This will remove the footer from the landing page.
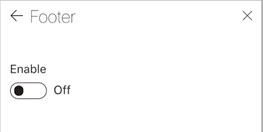
As I mentioned earlier however, you don’t have to remove the footer if you wish to keep it on your page, but I feel that it just gives the page a cleaner look and feel.
Change the logo
Also, from the Change the look options we can make changes to our Header.
- Click on Header, and from here we can change the logo for our home page.
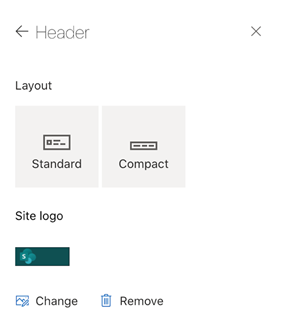
2. Click Change, and then upload your chosen image. The new logo will now take effect on your page.
Change the title
Next, we can change the Title of our page. You will note that the title now reads the same as the logo we have just uploaded. As a rule of thumb, I like to not only ensure that the logo and the title read differently, but also that the title for our Intranet is going to be something specific and memorable
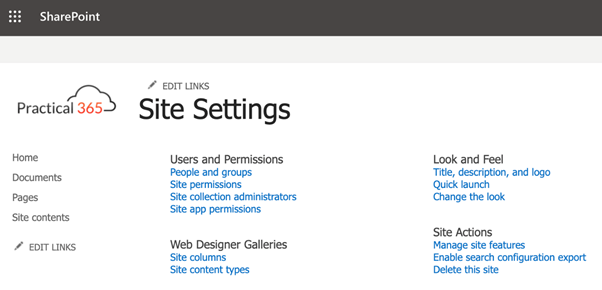
- To change the title, we need to click on Site Contents > Site settings as shown below.

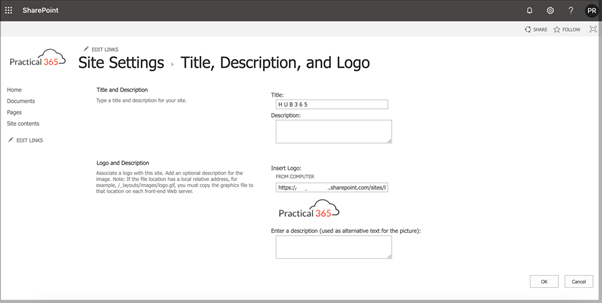
2. From the Site Settings options, choose Title, description, and logo from the Look and Feel section.
3. Here you can change your title and add an optional description. This page also provides an alternative method for changing the logo. In this example, I am going to change the site title from Practical 365 to H U B 3 6 5. The capitalization and spacing in the site title provides a more dramatic and standout feel for the landing page, but again this is just a personal preference of mine.
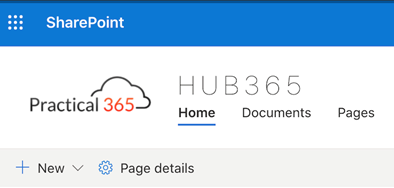
4. Click OK when you have completed your changes, and you will see your new site title displayed alongside your site logo as shown below.
Summary
In this post, we’ve taken you through the steps to create a new SharePoint Online Communication Site which will serve as our Intranet landing page. We demonstrated how to create the site from the SharePoint admin center and change some of the basic settings such as the title, description, and logo. In part two of this blog series, we’ll show you how to apply custom branding and theming to the page.
Upcoming webinar: Introducing Certificate-Based Authentication for Exchange Online Remote PowerShell.


But how can I make the menu appear within Teams (Adding a Sharepoint site page to teams). It seemt to strip off the header.
SharePoint use has grown, not because of its superior customization, but because of its practical use for tens of millions of intranets of small, medium and large companies. These users need a quick way of getting sites up and running and a safe cure way of maintaining the sites through the sites lifetime.
People who criticize it, often overlook its intended purpose to enable NON-developer IT, group and department users, and non-tech users to manage files, other users, collaborate, and hundreds of other tasks.
It is a Swiss Army Knife supreme for getting work done on the Intranet. I will compare my Swiss Army Intranet with any one else any time and any place. Bring yours and lets compare/
Man, this is the worst platform that I have worked within my life! The limitation for creativity is beyond the stupidity itself! I hope Microsoft will end the whole system once for all! Which will be better than closing parts of it one by one!
It’s one of the most intuitive for a non developer and also can be developed using visual Studio, SPFX framework…. Not sure what you mean by worst, seems you’ve not worked on many if that’s your view.
Agree… from the point of view of creativity is the killer. Can imagine for small companies that do not want to spend money on “creators” – end up with the same design all over the world…
Nice article Peter. Very thorough.
I agree that SharePoint in general has come a long way from it’s humble beginnings back in 2001. It still has a lot of power and potential. Teams is all the hype these days but SharePoint definitely still has a place of its own.