Microsoft has worked hard over the last few years at improving the security functionality across the Microsoft 365 suite, and one of these improvements is Azure Active Directory Privileged Identity Management (PIM).
PIM can help organizations manage, control and report on access with privileged accounts to Azure AD administrative roles. These include Azure AD, Office 365 and Microsoft Intune, ensuring users only have access to elevated administrative privileges when they need it and appropriate logging and protection are applied when this access is required. For example, supplying a ticket number or enforcing Multi-Factor Authentication (MFA) when activating elevated privileges.
In this article, we will look at:
- The steps involved in configuring PIM
- The options available when configuring PIM
- What the experience looks like to admin users when they try to access the Exchange Online Admin Center
What do I need to get started with Privileged Identity Management?
Azure AD Privileged Identity Management is licensed via Azure Active Directory P2 and is included in both Enterprise Mobility and Security E5 and Microsoft 365 E5 subscriptions. You can see more information on the licensing requirements for Azure AD Privileged Identity Management here.
Configuring Privileged Identity Management in Azure AD
When you are first configuring PIM you will need Global Admin rights within Microsoft Azure. The first user to enable and configure PIM will automatically be assigned the Privileged Role Administrators and Security Administrators role groups.
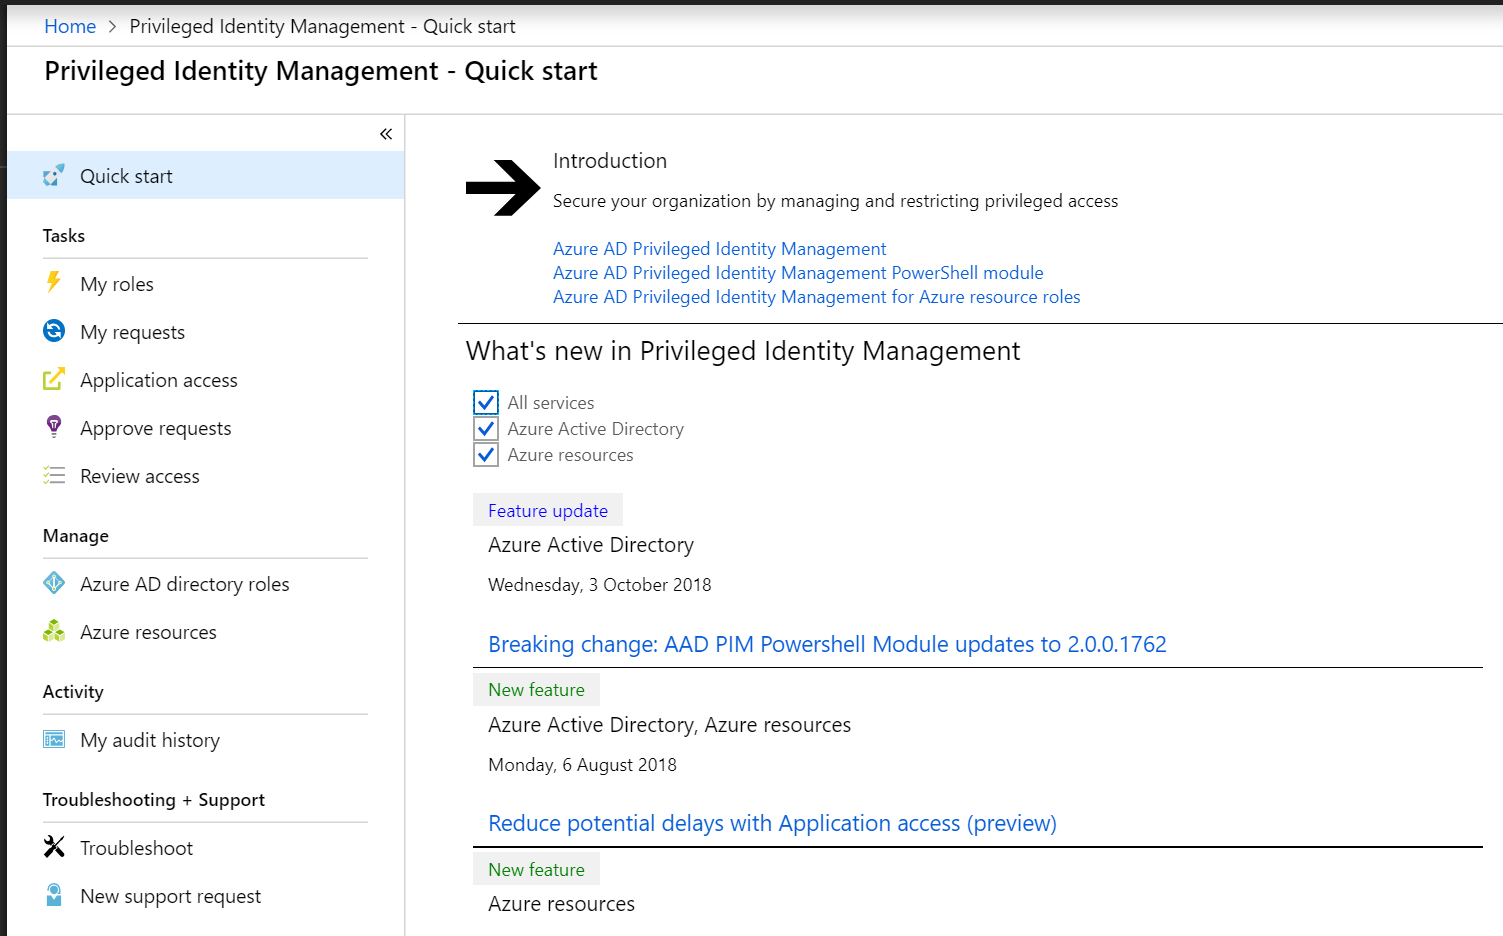
When you first configure PIM, you will need to consent to use it. Until this is completed, the options with the PIM console will all be greyed out and you will not be able to view/update any settings. When you navigate to Privileged Identity Management > Consent to PIM the Azure Portal will check the status of your tenant and then you will be able to hit the Consent button to initiate the process.

Once you have confirmed consent, the options under the PIM blade will no longer be greyed out and you will be able to start managing your Privileged Identity Management settings.
Protecting Privileged Azure AD Roles
When you first view the Azure AD directory roles blade within Privileged Identity Management after consenting to PIM, another status check will take place and you will need to sign up to Azure AD Privileged Identity Management for Azure AD Directory Roles by clicking the Sign up button.

After PIM and Azure AD Directory Roles have been enabled to work together, you can start to configure the service for your Office 365 Admin Roles.
For existing members of the Admin Role, when you go to Azure AD Privileged Access Management > Azure AD Roles > Roles you can select the various Azure AD Admin Roles and view its members. From here you can determine whether the members have permanent access to the role or whether they are eligible to elevate their standard account to a privileged account using PIM.

To enable users for PIM you can either click the ellipsis (…) or right-click and select Make eligible. Before making accounts eligible, you should ensure that their elevated rights aren’t used by any scripts or automated processes, and that the change is carried out at a time when they are not carrying out any administrative processes, as this will effectively revoke the user’s admin privileges until they activate the role from the PIM console, breaking any of the automated processes or scripts running under that account, or preventing them from the administrative task they are currently carrying out.

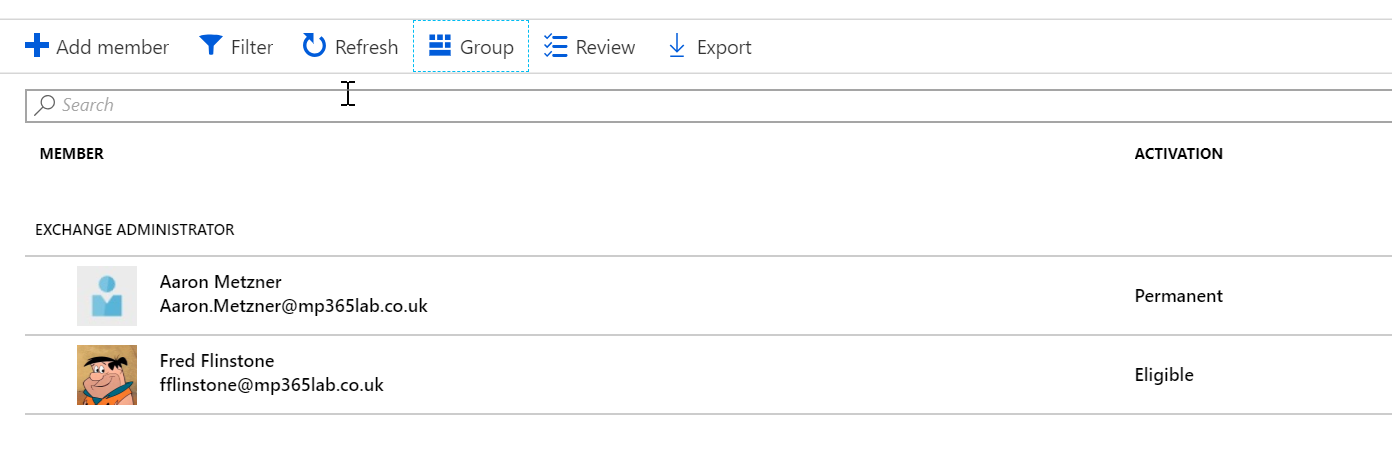
There is also an alternative view from within Azure AD Privileged Access Management > Azure AD Roles > Members where all Role Groups can be reviewed together using Group > Role view. Here, members can have their activation set to eligible by selecting the user and clicking Make Eligible from within that user’s member blade.
Once users are set to Eligible, they will be required to elevate their access before getting access to the resources of that role. For example, if the admin user fflinstone@mp365lab.co.uk wanted to run the Set-Mailbox command in Exchange Online PowerShell after being enabled for PIM, he would need to go to the Azure AD Portal and activate the role before launching the PowerShell module and signing in to retrieve the available cmdlets. If the user launches the module before they have activated the role, they will only have access to the cmdlets for a standard user account.
In addition to simply requiring users to activate their access when required, you can apply additional protection and/or reporting requirements for users when they do this, such as enforcing MFA. To configure these settings, navigate to Azure AD Privileged Access Management > Azure AD Roles > Settings. From the main window select Roles and then the role you are looking to configure settings for, i.e. Exchange Administrator. From here you can select the following:
- Activation duration: Customise the length of time the activation of administrative roles lasts. The default duration is 1 hour but can be increased up to 72 hours.
- Notifications: Enable email notifications members of the Privileged Role Administrator and Security Administrator groups when a user activated the admin role.
- Incident/Request ticket: Require users to provide a ticket/request number aligned with their requirement for the admin role.
- Multi-Factor Authentication: Require users to provide MFA after activating the role. It should be noted that MFA is only required once per session, not per activation, so if the user only has a 1-hour session but re-activates and maintains the same session 3 times in one day, they will only be prompted for multi-factor authentication once.
- Require Approval: Specifies whether a member of the Privileged Role Administrators or Security Administrators group is required to approve the activation.
Protecting Resources
In this blog, we are focusing on the protection of Exchange Online by limiting or controlling access to Exchange Online administrative roles. However, PIM also offers the ability to protect specific resources within Azure AD, allowing you to protect your individual Azure subscriptions and Management Groups rather than at an admin group level.
User Experience
Once PIM has been enabled by the administrator, the experience for users who are no longer permanently activated will change, and it is important that the organisation is aware of the impact of the changes and communicates this accurately to ensure productivity and day-to-day operations are not negatively impacted by its introduction.
If the user takes no action and tries to access the Exchange Online Admin Center (https://outlook.office365.com/ecp) as normal they will see the following error:

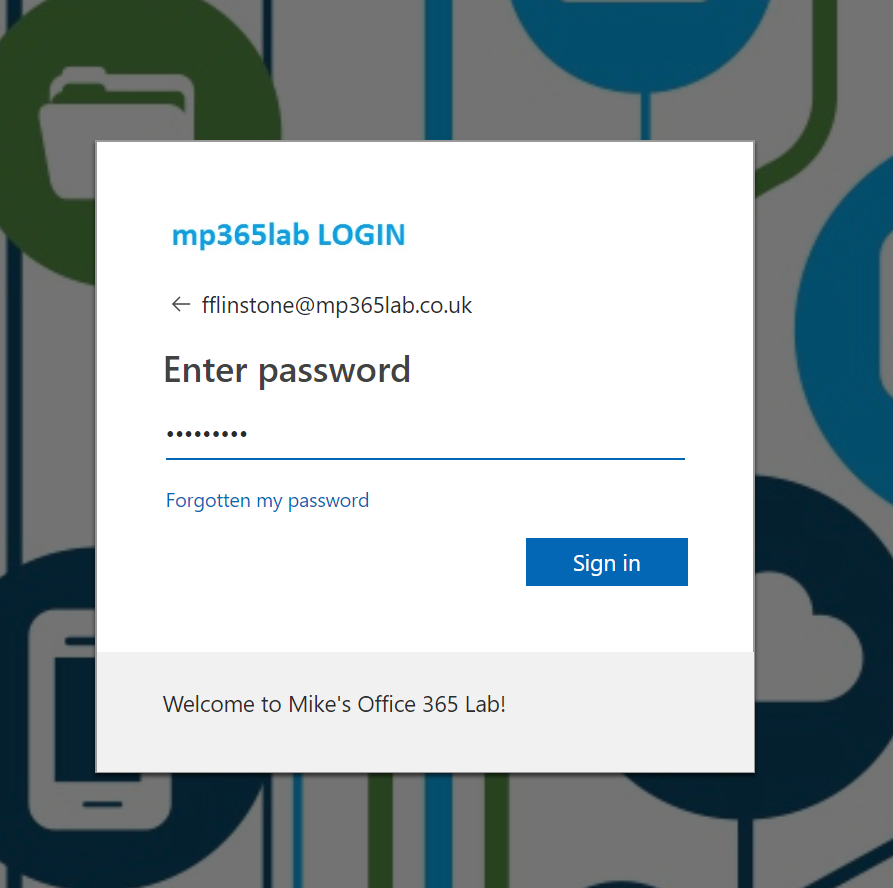
In order to activate their privileged admin role, the user must first sign in to the Azure AD Portal. This experience will be completed as normal, by simply browsing to https://portal.azure.com/ and signing in to the Azure AD Sign-in screen as they would normally.
Once signed in to the Azure Portal the user should navigate to Privileged Identity Management > My Roles where their available admin roles will be shown, along with their status (whether they are active/pending etc.)

When the user selects the desired role, they will again be shown the activation status and they should click the Activate button.

The Activation screen will then open and the user should supply the required information to activate the role. As defined in the configuration we made earlier, you can see below that the user needs to provide a Ticket Number, Activation Reason and optionally specify which Ticket System the ticket number is from.

Once the details have been completed the user clicks Activate and after a few seconds, they will be shown the following notification which confirms the request has been submitted.
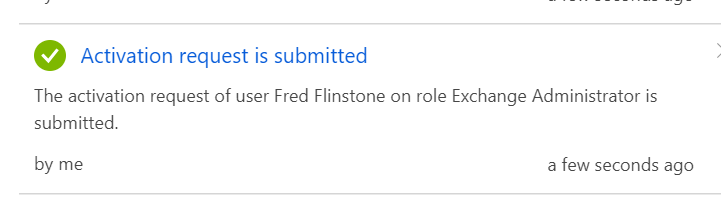
At this point, if an approval is required from another Privileged Admin user or Security Admin user, the status will remain pending until this approval is provided, otherwise, the Status will be updated to show “Access valid until…” and display the date and time that the activation will expire.

The user will now be able to access the Exchange Online Admin Center and carry out their tasks whilst the organisation can report on when, where and why admin users have activated their privileged roles.
Privileged Identity Management empowers companies to be more confident that breaches of privileged access information will not lead to malicious attacks on their corporate services and help ensure that elevated access is only granted when it is genuinely required.


Pingback: Using Privileged Identity Manager to set permissions
Hi,
If i assign Exchange Administrator access to a guest account (xx@guestdomain.com), which is an account from another Tenant, how do i log on to tenantdomain.com to administer their Exchange with that account?
I have also the same problem. Did you find a solution?
Is it possible to activate all eligible roles once instead activate one role at a time?
Great overview, thanks for the details, provided the starting point we needed for the project.