If you want to learn more about Exchange ActiveSync one of the problems you may run into is access to mobile devices to do your testing with.
Of course many of us own ActiveSync-capable smart phones or tablets these days, but if you really want to test the full range of Exchange ActiveSync features a separate test device is ideal.
By the way if you’re still not convinced of this, consider what it will mean to your personal smart phone if you decide to test ActiveSync’s remote device wipe capabilities with it 😉
Fortunately there are options available for running virtualized mobile device operating systems. The on that I’ve found to be the simplest and least expensive to run is Google’s Android operating system.
Google makes available for free an Android SDK that includes emulation tools for running simulated Android devices.
Installing the Android SDK
First I will just point out that I run my Android emulator within a virtualized Windows 7 computer. The only reason I do this is because I don’t want to install the required Java components on my laptop. This does result in a slight performance penalty when running the emulator, but I’m willing to put up with that to keep my laptop clean.
These instructions demonstrate how to set up the Android SDK on a Windows 7 32-bit computer. If you are running 64-bit Windows 7 you will need to download the 64-bit versions of the system requirements.
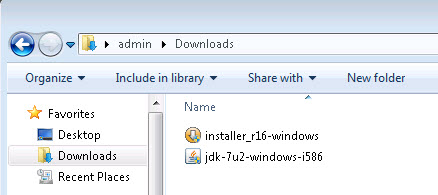
Download the following files to your computer:
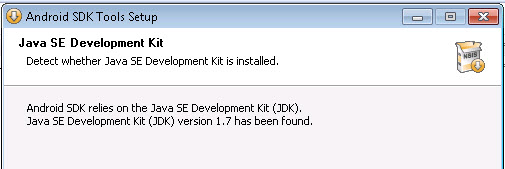
Install the JDK first, then run the Android SDK installer. The Android SDK installer will let you know whether the correct Java pre-requisites are already installed.
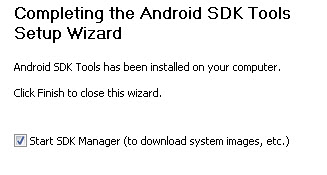
When setup is complete launch the SDK Manager.
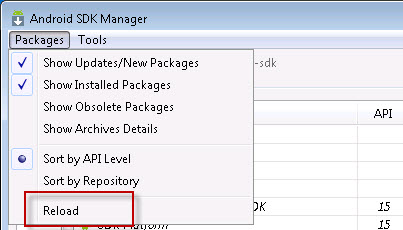
After the Android SDK Manager has launched you will need to download some updates. Click the Packages menu and choose Reload so that the full list of available packages is shown.
I recommend installing the Android SDK Tools, Android SDK Platform-tools, and all of the packages for the version of Android you wish to emulate (4.0.3 in this example).
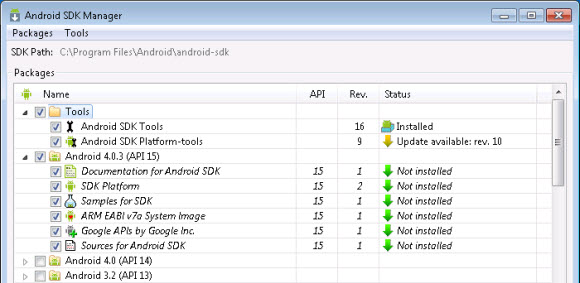
Select those checkboxes and click Install Packages.
When the packages have installed you can create a virtual device.
Creating an Android Virtual Device
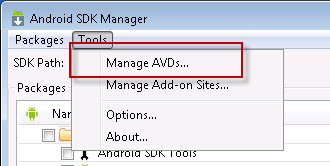
In the Android SDK Manager click the Tools menu and choose Manage AVDs.
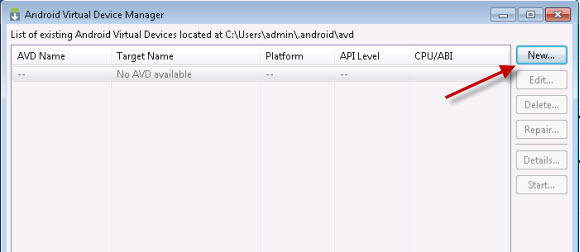
Click the New button to create a new virtual device.
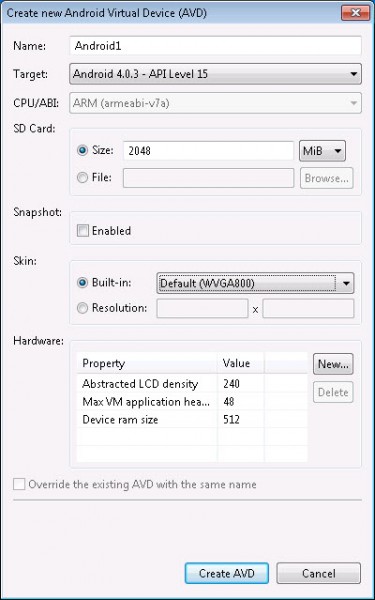
Give the device a name and choose a target for the Android version you want to run (4.0.3 in this example). You can also specify an SD Card size and change the resolution if you wish to. Click on Create AVD when you’re ready.
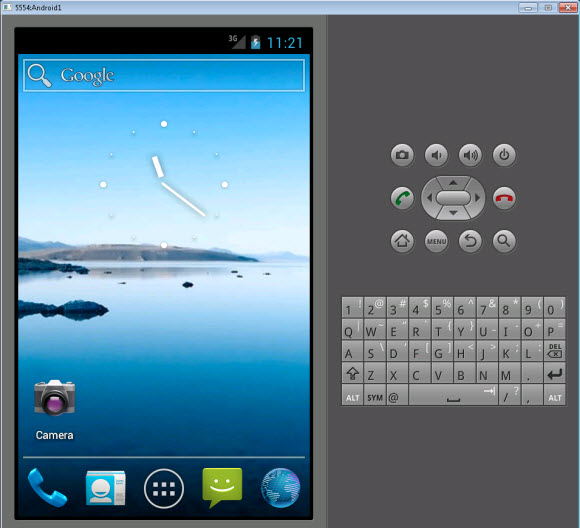
Highlight the newly created virtual device and click Start to launch it. The Android emulator will launch showing a simulated touch screen that you can interact with using mouse and keyboard, as well as simulated hardware buttons (eg Home, Back) and keyboard to the side.
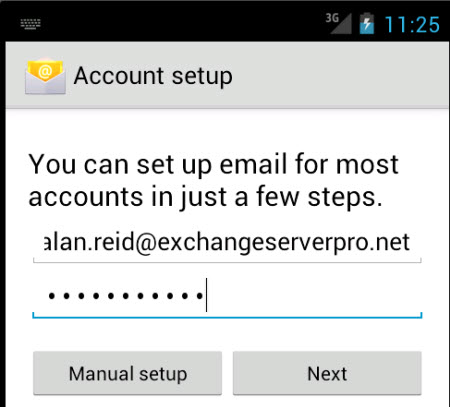
If you already have Exchange 2010 running with ActiveSync configured you can now go ahead and add a new email account to the Android device.
If your server is properly configured then you should see a successful initial sync (though it may take a little while to finish).

If you’re wondering about the random-looking email that is shown above it is from the test lab email generation script I’ve written. You can find the script here if you’re interested in using it in your own test lab.


Hello Paul,
I know this post is a bit old. But maybe it helps me with my plan. Let’s see.
We have a student who plans to go for an exam in information technology. My task is to work with him on a test infrastructure with Exchange Server 2016. Now the exam commission told us that we had to add ActiveSync to our test environment. And here is my question:
Is this solution suitable for Exchange Server 2016?
If yes, we would be happy to show the commission that we have the power to survive the exam. 🙂
Cheers,
Henning
Thanks ! Very Helpfull
Pingback: Testing ActiveSync (EAS) using emulation on AVD Manager. | Polisz admin blog
Pingback: sofa features
Pingback: hotmail marketing alliances
Pingback: laser scar removal nyc
Pingback: annonce gratuite
Pingback: 100manedu.Co.kr
Awesome… its just work fine.!!!
Keep it up!!
This does not appear to work with the latest version – I cannot add accounts so assume either this functionality was removed, or the 4.2 devices dont work?
Not sure as I haven’t tried the most recent version.
Have just installed Android 4.0.3 as was available when you wrote this article and the Email app is there so all good. Seems they dont include it in the later versions!
Pingback: Virtual activesync devices « Doug G
is this working on android 4.2 ? Somehow I can not add an ActiveSync account
Pingback: Testing activesync with android virtual devices : Android Community - For Application Development
Pingback: Testing activesync with android virtual devices video
where can I get the values from the Target dropdown
Thanks
I don’t understand your question.
Thanks for this, I tried using the Windows Phone one but it was a little gimped and wouldnt let you easily install it and test activesync.
Tested this and it works great, will be using it in all the deployments of activesync and especially on a tmg implementation.
Keep it up
thanks
Pingback: Virtual Android « JC’s Blog-O-Gibberish