My licenses for Windows Vista Business Edition arrived last week and so I thought I would document the process I followed for upgrading from Windows XP Professional.
The first step I took was to download and install the Vista Upgrade Advisor, to test for software and hardware compatibility. Note: on one of my VMWare test pc’s I had to download MSXML 6 in order to install the Upgrade Advisor.
Once the Upgrade Advisor is installed you can run the scan to generate a report of software and hardware issues that should be resolved before you attempt to upgrade to Vista. For example, on my Dell Inspiron 6400 the report advised me to upgrade the laptop system BIOS before performing the upgrade. It also alerted me to some compatibility issues with some development tools I run on that laptop. For my VMWare test pc it advised me to increase the amount of RAM for the system and also to upgrade my video card (on the host machine) to receive the full Vista experience.
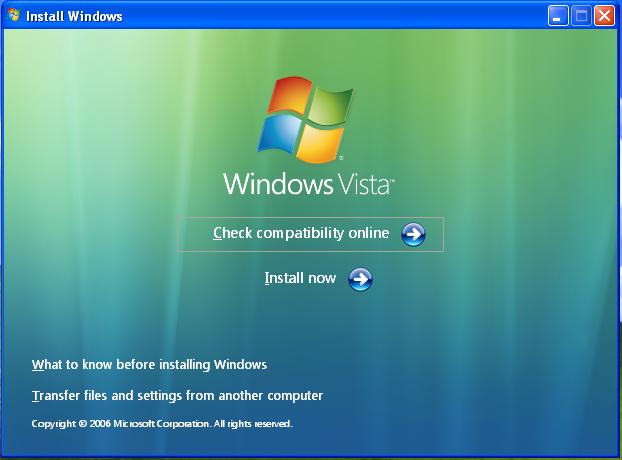
After you have investigated and resolved any of the issues identified by the Upgrade Advisor you can proceed with the installation of Windows Vista. Insert the Vista DVD, launch it if it doesn’t autoplay, and choose “Install Now”. A decision to make is whether to allow the installer to connect to the internet for the latest drivers and security updates during installation. If you have an internet connection available I highly recommend this.


Enter your product key when prompted, accept the license agreement, and then choose Upgrade so that your files, settings, and programs are preserved. You will receive a warning if there are any issues from the Upgrade Advisor report that you did not resolve. After that the upgrade begins.
When the upgrade has finished installing you are prompted to choose how to keep Windows Vista up to date and secure. I recommend choosing “Use recommended settings”. Next, set your clock and timezone. If a network is detected you are also prompted to choose your computer’s location. Choose the appropriate location for your needs. If you aren’t sure choose “Public location”.


The upgrade is now complete.
Almost anyway. Vista now runs through a process of checking your computer’s performance and setting up the desktop and certain application settings. It should only do it this one time so future startups will be faster.
The first significant issue I encountered was AVG Free 7.5 failing to load, displaying a licensing error.

I didn’t have the license details handy (even though its free it still has a license key) to reactivate it, and a bit of searching on the web revealed this is not an uncommon problem, so the solution was to reinstall AVG Free 7.5 from the installation file, being sure to choose to run it as an administrator when I launched the installation file. I chose to perform a “repair installation” and this was successful. This required a restart, and then also required me to update AVG again as I had reinstalled from an older installation file.
Overall this particular upgrade to Vista went quite well. That was the VMWare test pc, so the next computer to be upgraded will be my Dell Inspiron 6400 laptop. I’ll post any significant issues and their solutions here but hopefully it will go as smoothly as the test pc.


Pingback: How and why I stopped using Windows Vista - The Capslock Assassin