In Part 2 of this series, I show how to create document understanding models into the SharePoint Syntex Content Center, and how to add, classify, and train documents. I also demonstrate how to extract content from files stored in SharePoint document libraries where the document understanding model was applied and how to display the extracted information in columns within these document libraries.
In Part 3, I cover how to create forms processing models from SharePoint document libraries by using AI Builder, a feature of Microsoft PowerApps. Before plunging into the detail, it is important to understand how forms processing models compare and differ to document understanding models.
Understanding the differences between document understanding models and forms processing models in SharePoint Syntex
Both methods are types of content understanding. Document understanding models and forms processing models essentially have the same purpose, which is to extract content from documents and display the information in columns within SharePoint document libraries.
Document understanding models are created in the Syntex Content Center and can be applied to any document libraries within SharePoint Online.
However, a forms processing model must be created in the document library where you wish to apply content understanding. Power Automate flows are created by AI Builder when you use a forms processing model.
To use forms processing models, the Microsoft 365 organization needs licenses for AI Builder. For this demonstration, AI Builder trial licenses were used.
Create a Forms Processing Model
To create a forms processing model, we need to complete the following steps. First, create a SharePoint document library where you wish to upload the documents which will be targeted by this model. I’ll use a document library called Invoices.
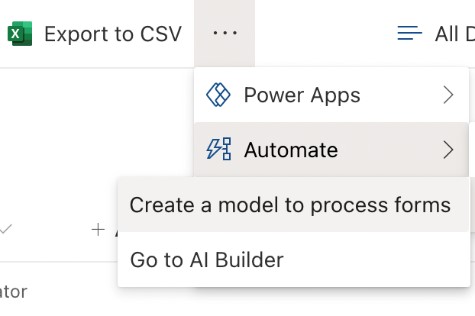
In the document library, click on the ellipsis and then select Automate | Create a model to process forms as shown in Figure 1:
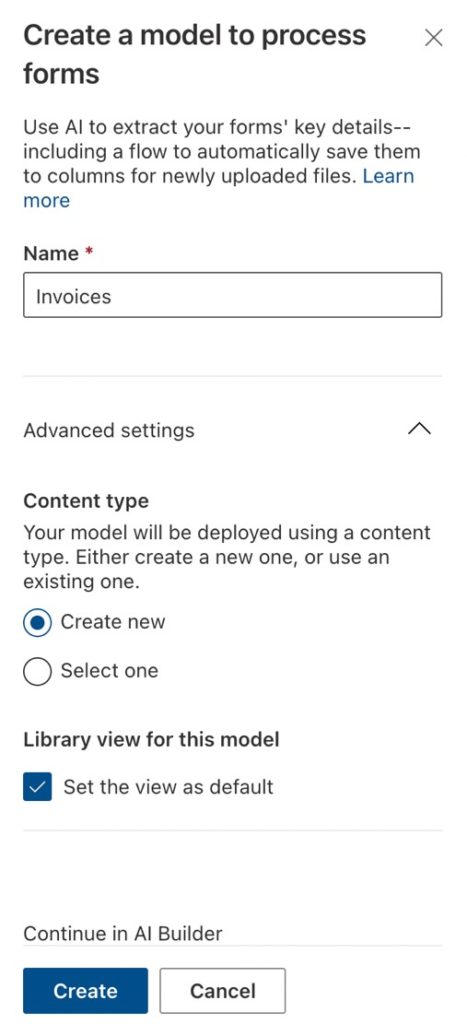
Next, provide a name for our new model. In this example, the model will be named Invoices and will use a newly created content type. Once these settings have been entered, click Create (Figure 2):
SharePoint Online creates the new model, a process that usually takes several minutes to complete. Once done, the new model opens in Power Apps AI Builder and we can start to add documents to the model for analysis, tagging, and training.
Adding, analyzing, and tagging documents in the forms processing model
We need to determine what information we wish to extract from documents uploaded to the document library. To do this, we must complete the following steps.
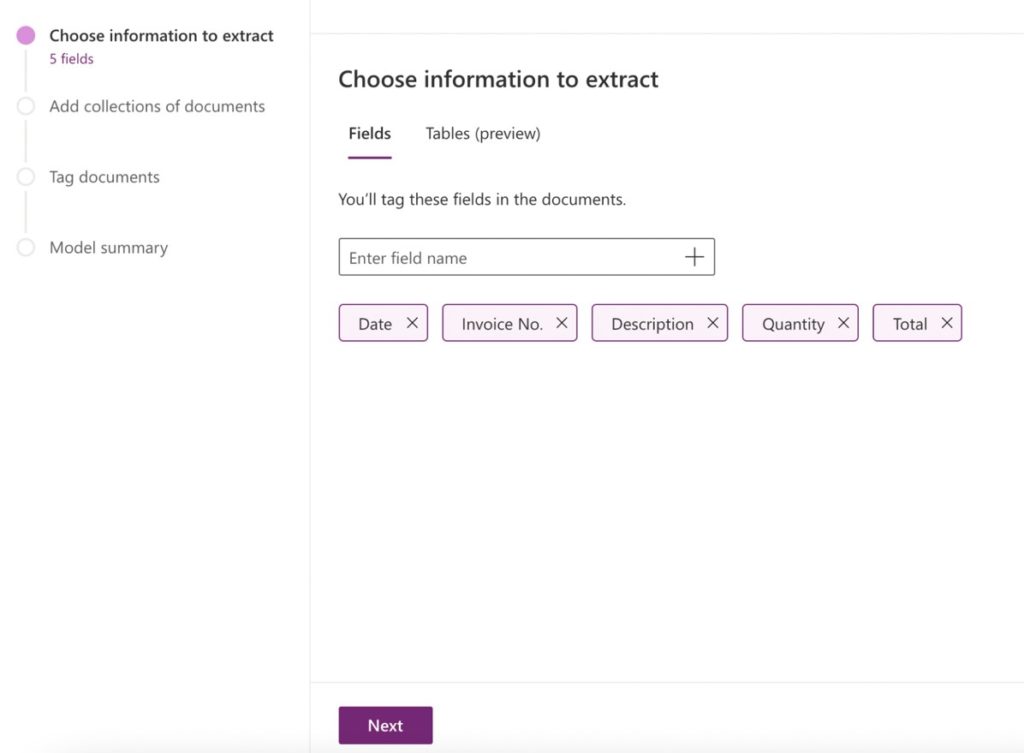
With the model open in Power Apps AI Builder, we choose the information to extract from the invoices that will be upload to this document library. This is done by entering field names as shown in Figure 3, where we have added fields for Date, Invoice No, Description, Quantity, and Total. Click Next:
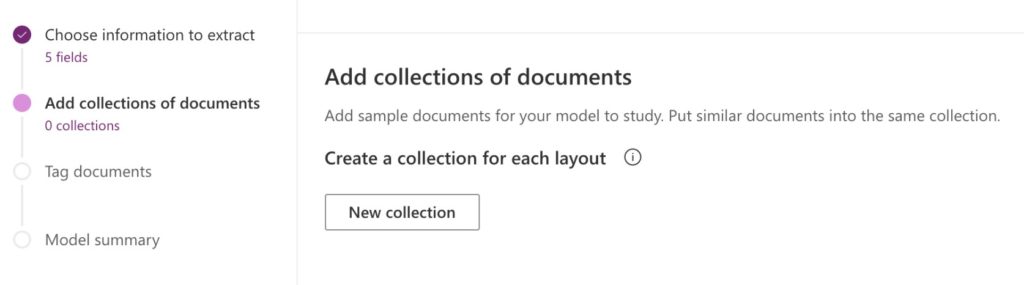
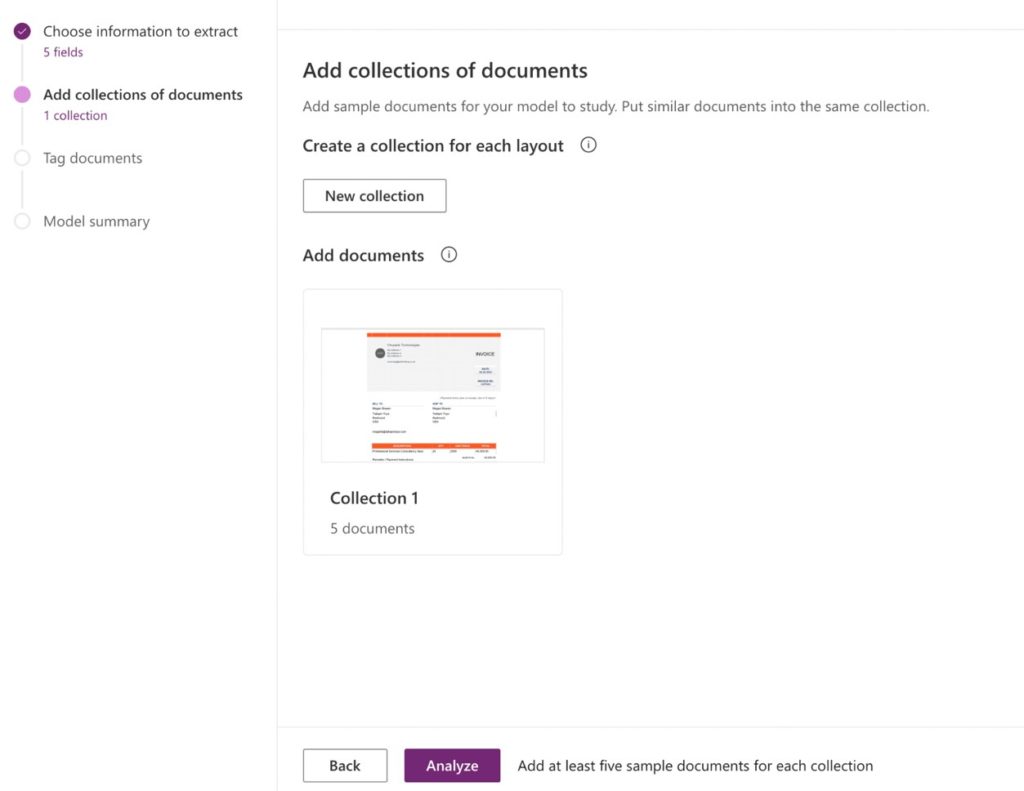
We now add some sample documents to our model. We need to add a group of documents that share the same layout to a collection by clicking on ‘New collection’ shown in Figure 4:
We need to add five or more documents with the same layout. Five is the minimum number of documents you may add. However, adding up to twenty examples could yield better results. Select Add documents. This is shown in Figure 5:

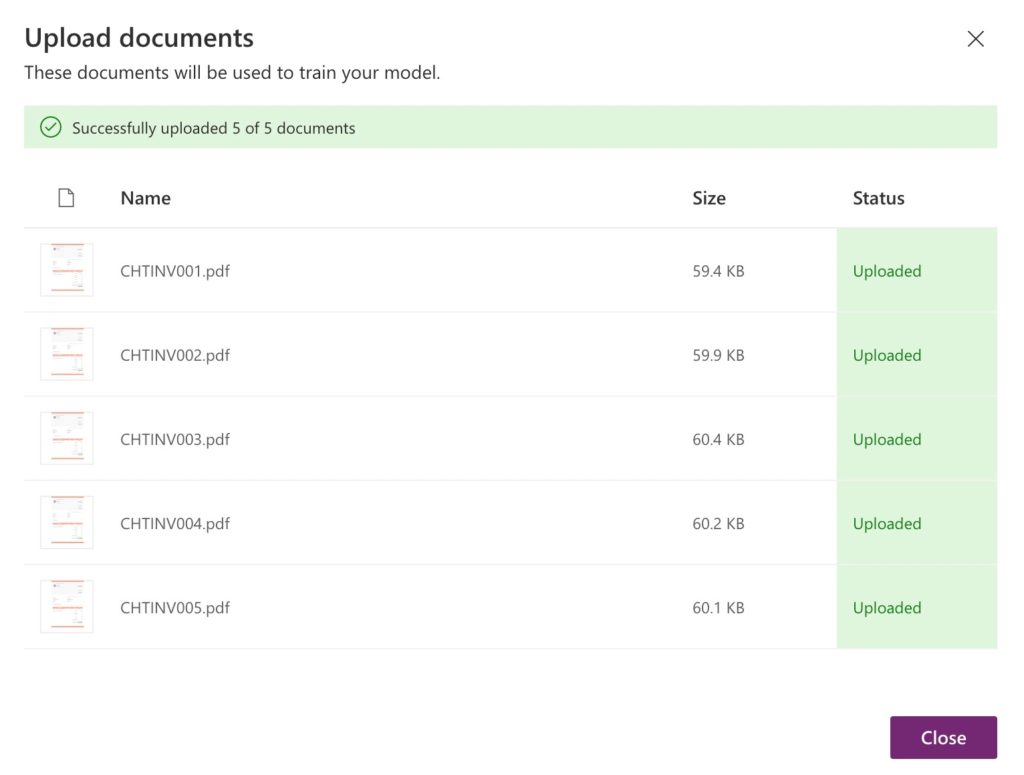
You can upload sample documents from local storage, SharePoint, or Azure Blob Storage. If you choose Azure Blob Storage, you will note that this is a Premium PowerApps Connector feature. For my test, I uploaded sample invoice PDFs from local storage (Figure 6):
Highlight the new document collection and select Analyze (Figure 7):
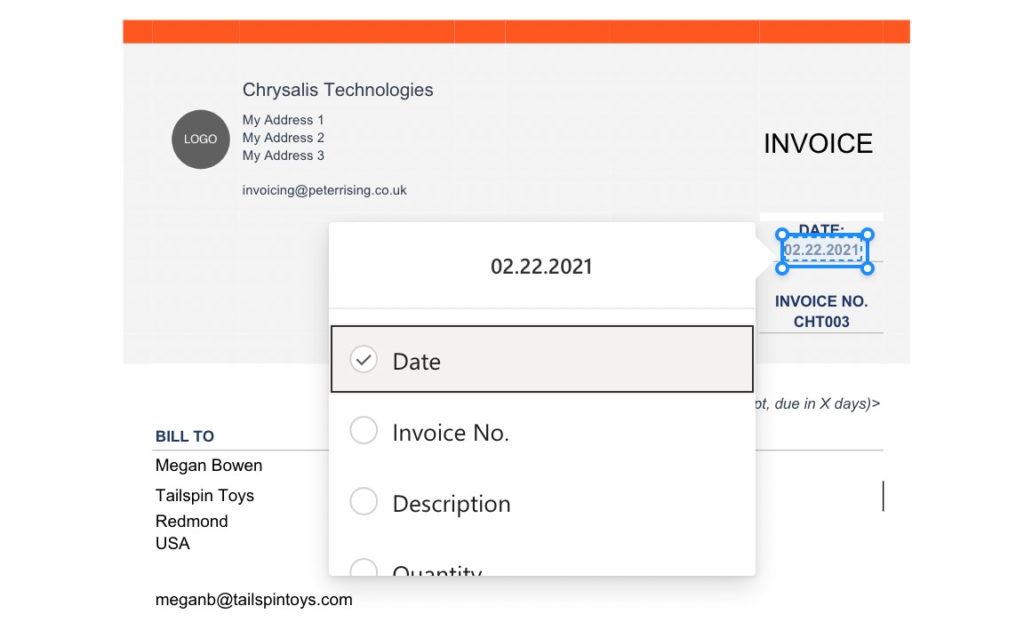
The next step is to highlight the required content from each of the five sample files and match it to the fields we set up earlier in the process. Figure 8 shows the Date entry within one of the sample files being matched to the Date field:
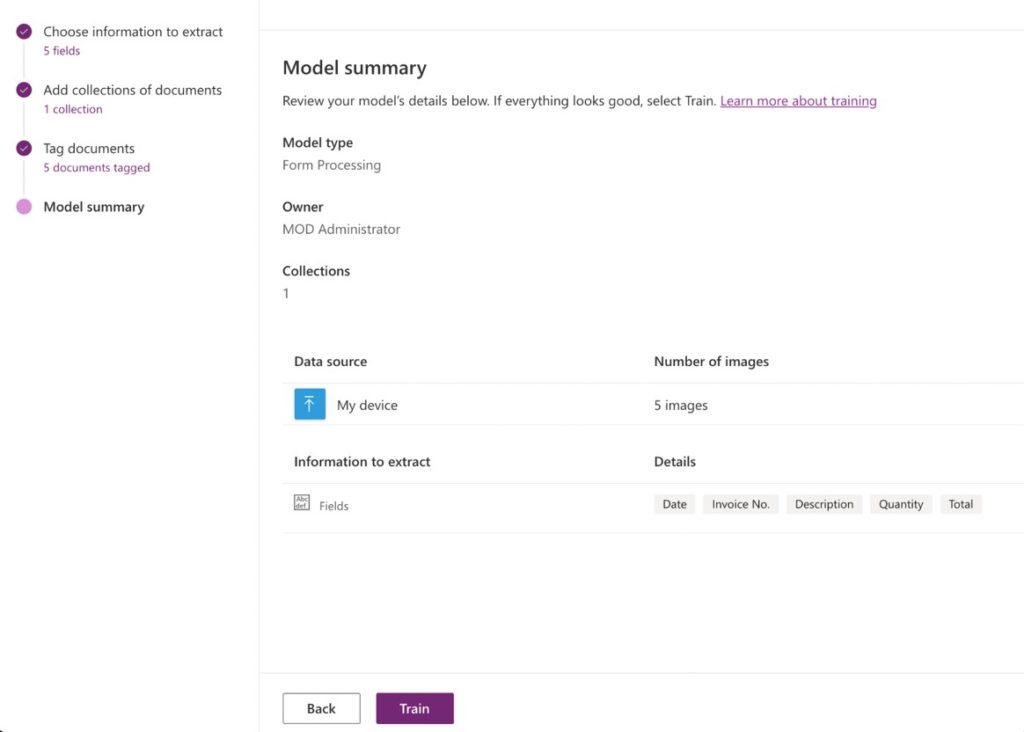
When you complete this process for all the sample documents, click Next. You can now review the details you have set for your model, then select Train to begin the process of training the model based on the sample data (Figure 9):
You will now see a message which says Training Complete. Select the Go to Details option to take you to the model page. Now we need to click on Publish, and once the publishing process completes, click on Use Model (Figure 10).
Note: Should the model training process fail for any reason, try going back and ensuring that all the fields you chose in each sample documents are properly labeled, and also try adding more sample documents, then run the training again.
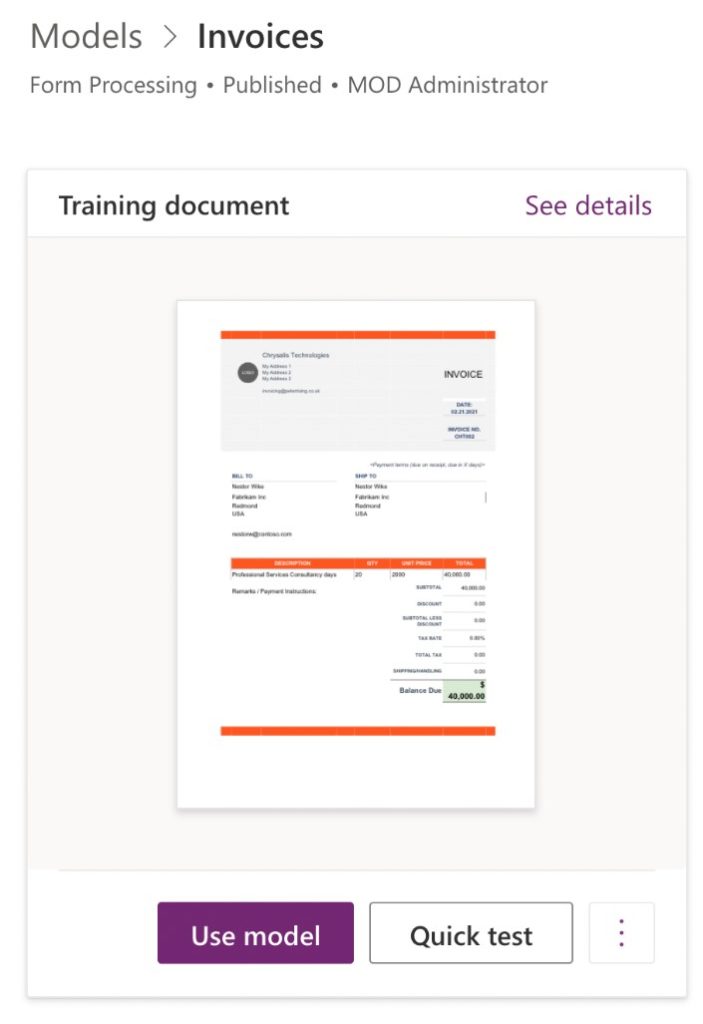
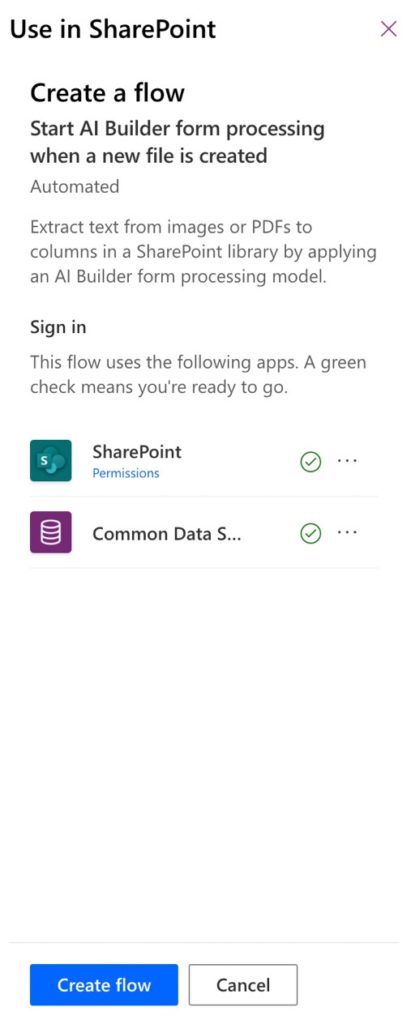
After choosing to use the new model, we are shown which apps will be using our model, in this case, SharePoint and Common Data Service (now renamed Microsoft Dataverse) . Click on Create flow as shown in Figure 11:
You will now see a message that the flow was successfully created and be prompted to Go to SharePoint. This takes you back into the document library where the model was created.
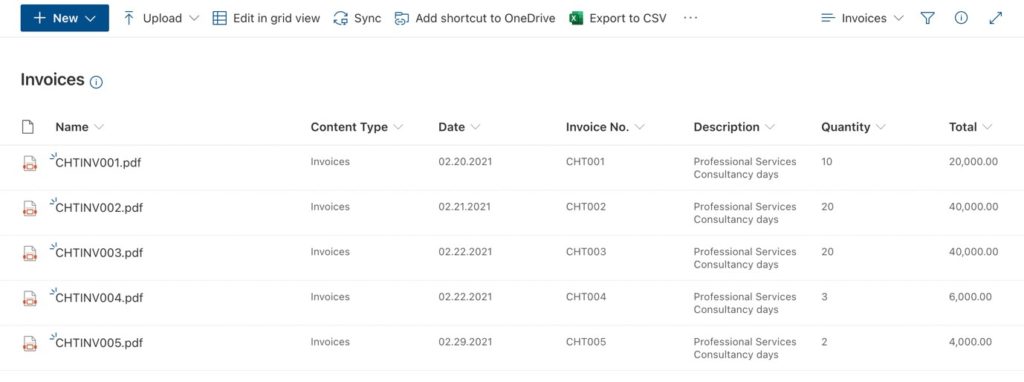
Because the model exists, any time new invoices (documents that match the model) are uploaded to the library the flow is triggered to perform data extraction so that the information can be displayed (Figure 12):
Summary
In this blog series, we introduced you to SharePoint Syntex which is a content understanding process available in Microsoft 365.
Overall, SharePoint Syntex has a lot of potential. Anything that can streamline the process of knowledge management within Microsoft 365 is absolutely a positive thing. However, the need for additional licenses for Syntex itself, and AI Builder licenses if you want to use forms processing models may deter many Microsoft 365 customers from adopting this technology. As ever, only time will tell.


